Table of Contents
Pneumatic surface CNC
Based on the Fast Pneunet architecture.
Fabrication
Cavity: Polyurethane foam, acrylic glass and screws. CNC milled and assembled.
Bottom layer: acrylic glass and double sided tape.
Mold files
Casting
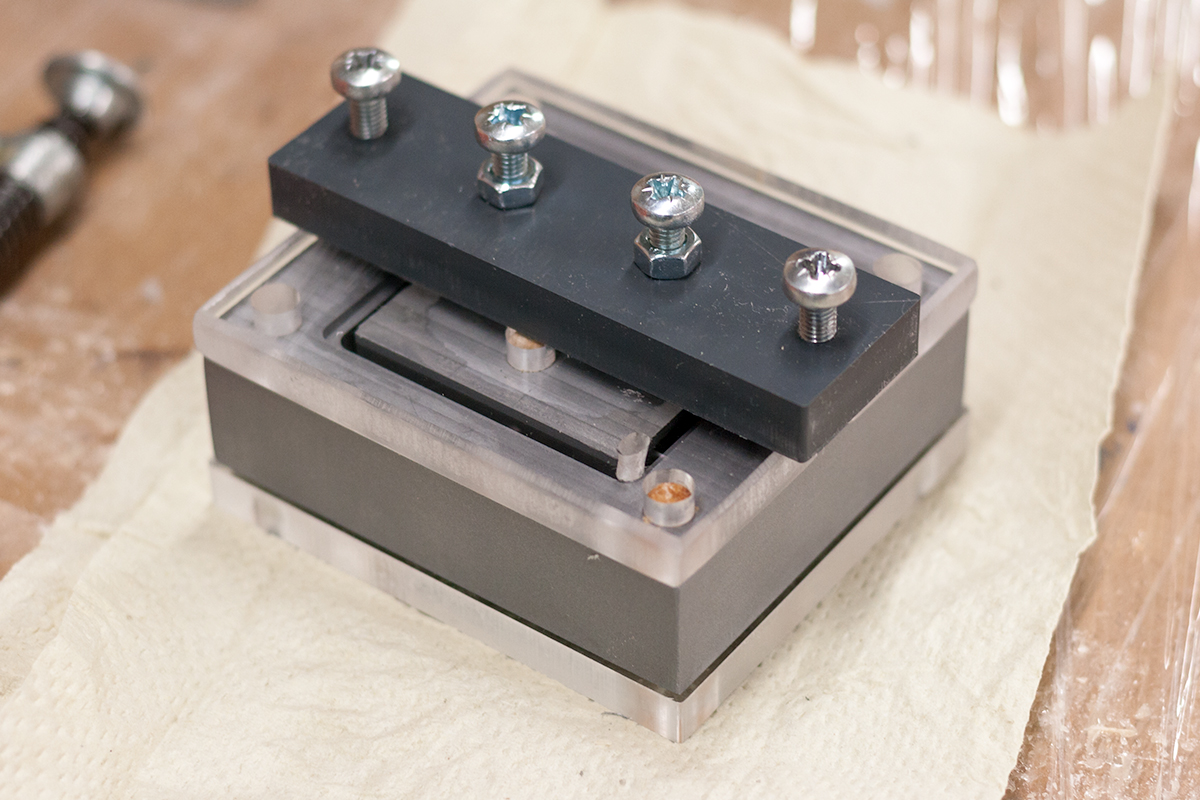
Top cavity (pic.2)
The Mould has an inlet hole for a syringe and an air outlet on the opposite site. The bottom and top part of the mould is made of transparent acrylic glass to observe any air traps while injecting the silicone. The mould has to be held in a way that the silicone inlet is the lowest point and can be filled up from bottom to top. That way the air will be pushed up and out through the air outlet. When the mould is casted it needs to be stored in a way that both wholes point upwards in order to keep the silicone inside the mould while drying. After drying the mould is being released by the aids of two screws located on the top part part of the mould. The screws need to be turned slowly to prevent the silicone from ripping and to leave enough time for the silicone to deform. If needed a release agent can be added to the mould before casting.
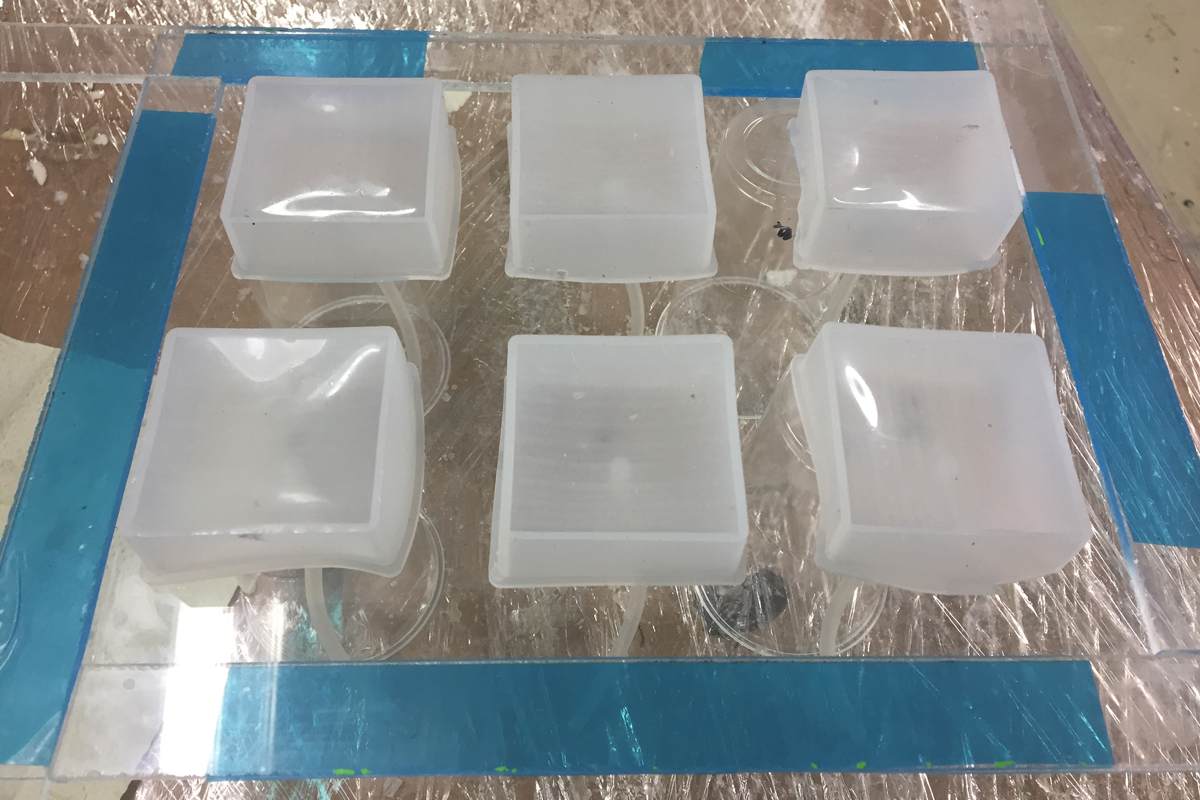
\\Bottom cavity (pic.3)
Add the tubing through each hole (maybe 5cm) and leave it standing out on the top part in order to prevent it getting flushed and jammed through the casting. Fill the whole surface with Dragonskin 30, then add the top cavities and make sure that the border walls are all inside the silicone. Wait until fully cured then carefully remove the surface and praise the tubes out of the wholes. Be careful not to rip the tube from the freshly casted surface.
Oven times
Ecoflex 30 about 20 min at 65°C
Basic shape
Air inlet
The Bottom plate has holes in order to place the tubing before casting the bottom surface.


